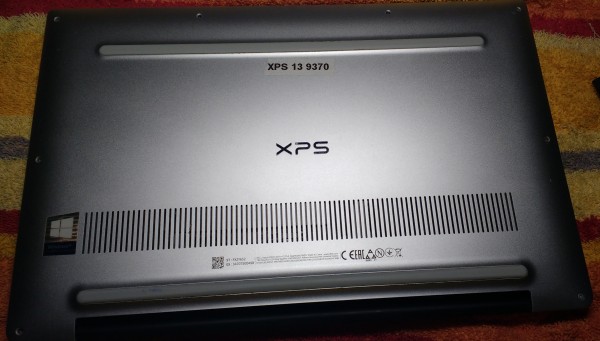
Nikkel: the Dell XPS 13 (9370)
A small introduction of nikkel is in the XPS 13 chapter in the Dell section on this site. In short: I found a little gem on 'marktplaats.nl', the dutch version of Craigs list. A 2019 Dell XPS-13, model 9370. Shiny metal on the outside, dark carbon black on the inside. With an infinity screen (the bezel is so thin, you have the impression the screen touches reality). The battery was dead, but that was to be expected with a machine of this age.
What's inside?
An awful lot, for such a small package:
CPU		Intel Core i5 8250u	Passmark : 6400
RAM		8 GB
Drives		Samsung PM 981 M.2 NVME solid state disk, 256 GB
Ports		USB type C (3), Headphone, micro SD
OS		Windows 10
I assume the Windows was version 10, but I never used it. It was gone with the wind, in 10 seconds. Windows is for children. This is the CPU: https://www.cpubenchmark.net/cpu.php?cpu=Intel+Core+i5-8250U+%40+1.60GHz&id=3042
Opening the bottom cover
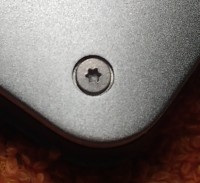
That was the first fight, and the XPS won.... Eight tiny screws, holding the lid in place. As usual. But this time,
the screws had Torx T4 or T5 heads and my smallest tool was T10. I had to order a cheap set of screwdrivers at BOL
before I could get a peek inside.
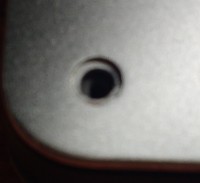
Two days later I had the T4 tipped tool. The screws had a tight fit. The lid had never been opened since the
machine left the factory. When the screws were out, it was quite a challenge to find a 'weak' spot where to start
prying with my Every Day Carry knife. I started at the bottomleft corner and worked my way round.
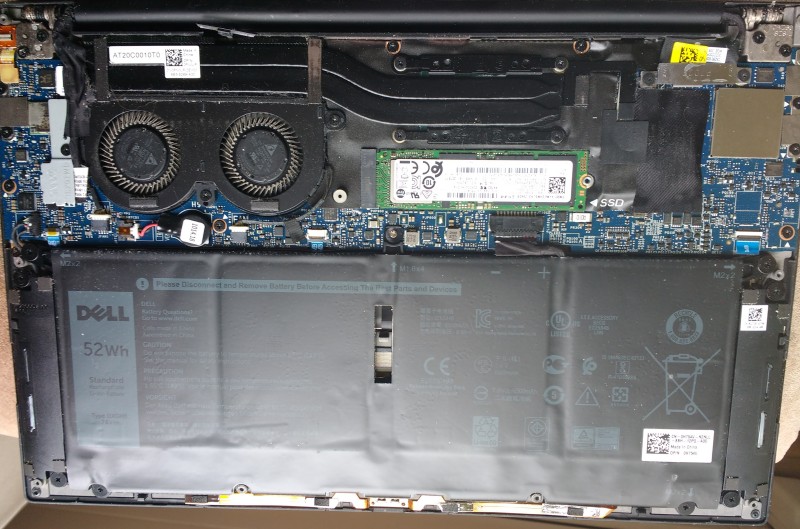
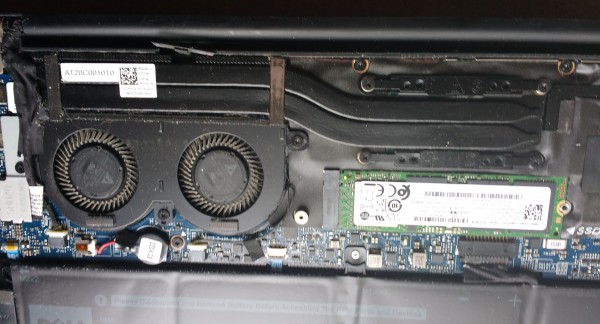
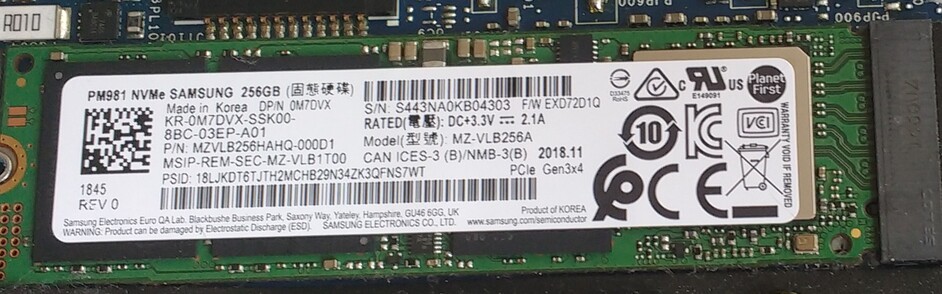
When the lid is off, you see a huge battery and twin fans, taking care of a double heatpipe. And in between sits the NVMe disk. The disk is covered with a metal heatsink. It is a Samsung PM981 NVMe disk of 256 GB. It's a fast disk, so I'm not going to replace it. The battery, however, is dead as a dodo on life support. When 'fully charged' it lasts for 5 to 10 minutes. So that one has to go. The battery is of type 'DXGH8'. A new one arrived today.
Powering up and get into the BIOS
With the lid closed I powered the machine up on the battery. Bad idea. When the battery gets critically low the system gets all kinds of strange quirks (bouncing keystrokes, sudden resets) so the XPS has been running exclusively on mains power. You can use all three USB ports for this, but only use the left hand side ports, for reasons that will become clear later on.
This is a Dell, so getting in the BIOS goes with
Take care here. When you exit from the BIOS menu and realize you forgot something, wait for 15 seconds and retry. If yiu omit this pause, it will power up, but it will not get into the BIOS mode. For some strange reason. Also, getting out of the BIOS setup mode is difficult, since the machine will not always power down. Always look at the bottom right of the screen and look under the keys, whether the key backlights are on.
The BIOS in text
The XPS has a very extensive BIOS with lots of options. Many are interdependant, but the system will warn you when the item you are about to change depends on another. Below are the things I set in my BIOS, as text. If you don't feel comfortable with it, stop reading now and skip to the next paragraph.
General
   Boot sequence
     Boot list options : UEFI		(ignore the rest for now)
   Advanced boot options
     Enable Legacy option ROMs
     Enable attempt legacy boot
   UEFI boot path security	Never

System configuration
   Sata operation		AHCI
   Drives
     SATA-2
     M.2 PCIe SSD-0
   SMART reporting
     Enable SMART reporting
   USB onfiguration
     Enable USB boot support
     Enable external USB port
   Thunderbolt adapter configuration
     Enable thunderbolt technology support
     Enable thunderbolt Adapter boot support
     Security level - User authorization
   Audio
     Enable Audio
       Enable microphone
       Enable internal speaker
   Keyboard illumination
     Dim
   Keyboard backlight timeout on AC
     10 seconds
   Keyboard backlight timeout on battery
     10 seconds
   Miscellaneousdevices
     Enable camera
     Enable secure digital card

Security
   UEFI capsule firmware uodates
     Enable UEFI capsule firmware uodates

Secure boot
   Secure boot enable
     disabled
   Secure boot mode
     Deployed mode
   Expert key management
     disabled

Intel software guard extensions
   Intel SGX Enable
     Enabled
   Enclave memory size
     64 MB

Performance
   Multi core support
     All
   Intel speedstep
     Enable Intel speedstep
   C-state control
     C-states
   Intel turboboost
     Enable Intel turboboost
   Hyperthread control
     Enabled
I left out a lot of options since they are meaningless for this moment. And some of the options above are probably
also irrelevant to booting.
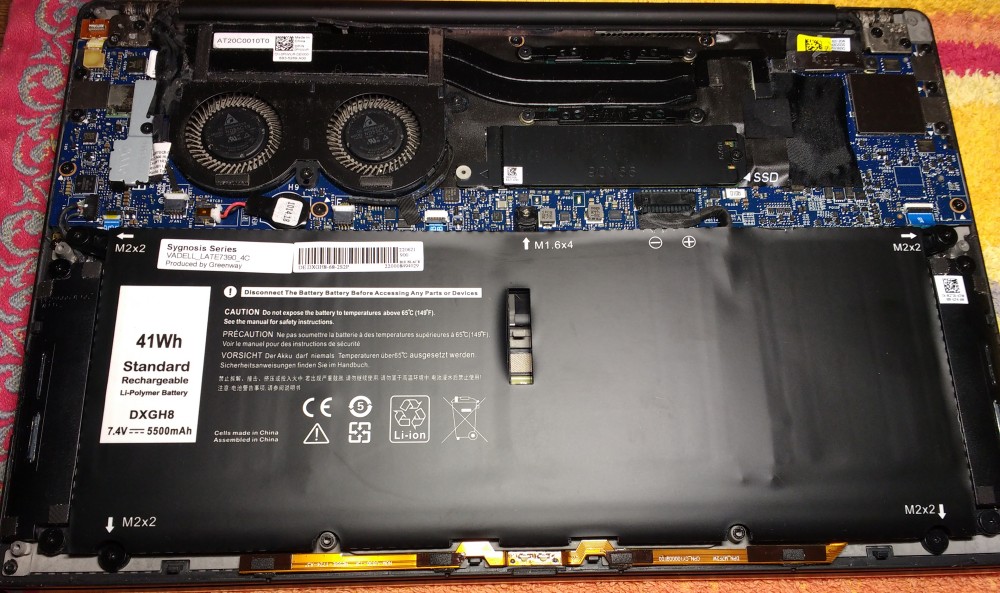
Changes to nikkel
Just the battery. The rest was in tiptop condition. The new battery is below.
Getting 'Slackware 64 current'
I downloaded the daily iso image off Alien Bob's site 'Index of /slackware/slackware64-current-iso'. You can choose between a full dvd install (recommended) or a mini install. I always use the full iso image and burn it to a USB image. On titaan. This is done with:
lsblk
su
dd if=slackware64-current-install-dvd.iso of=/dev/sda bs=16M
exit
The 'lsblk' is required to find the mounting point of the USB stick. Titaan has an NVMe disk, so the USB stick is '/dev/sda/', but on systems using HDD or SSD drives, 'sda' is your MAIN BOOT DISK. And 'dd' does not ask for confirmation. In seconds you loose all the data and end up with a bricked system.
Booting off the installer
Easier said than done. First you have to make changes to the BIOS. Dell and Microsoft have teamed up on this machine to prevent installing Linux. It can be done, but not without changing some key parameters in the BIOS (see above). It took me a day to find out how to go about.
First and formost: the USB boot stick must be inserted in the RIGHTHAND SIDE usb port. It can boot from the two lefthand usb ports but it is a lot more difficult. Just do yourself a favor and use the righthand side usb port.
Boot up the machine and go for the one time bootmanager option as explained above. If things are OK, you will see the USB boot stick in the list. It appears twice, and only 1 will actually work. When you have selected to boot off the correct USB device, you come in a GRUB style booting menu. Select the the upper option. Proceed as usual.
No GPT label
I erased the PM 981 disk with the gdisk program. I zapped the content. Then I created the usual UEFI partitions (250 MB of EFI, 40 GB root, the rest as home). Things went as greased lightning. The installer finished, I was asked if I wanted to install LILO, but on UEFI we need ELILO. Normally, when you deny installing LILO you are automatically sent to the ELILO section. Not now. It went on to configure the network. And at reboot time, there was no operating system detected in the EFI partition. This repeated 3 times...
I rezapped the disk, and now I started
cfdisk /dev/nvme0n1. CFDISK noticed a blank disk and urged me to choose from 4 types
Make a boot menu entry in BIOS
Warning signs
isohybrid slackwareversion.iso